How to shoot into the sun

Shooting into the sun can give incredible results for landscape photography but it does pose us with lots of problems. Today I will be going over these problems, showing you how to overcome them, whilst shooting in the field and also some post-production techniques.
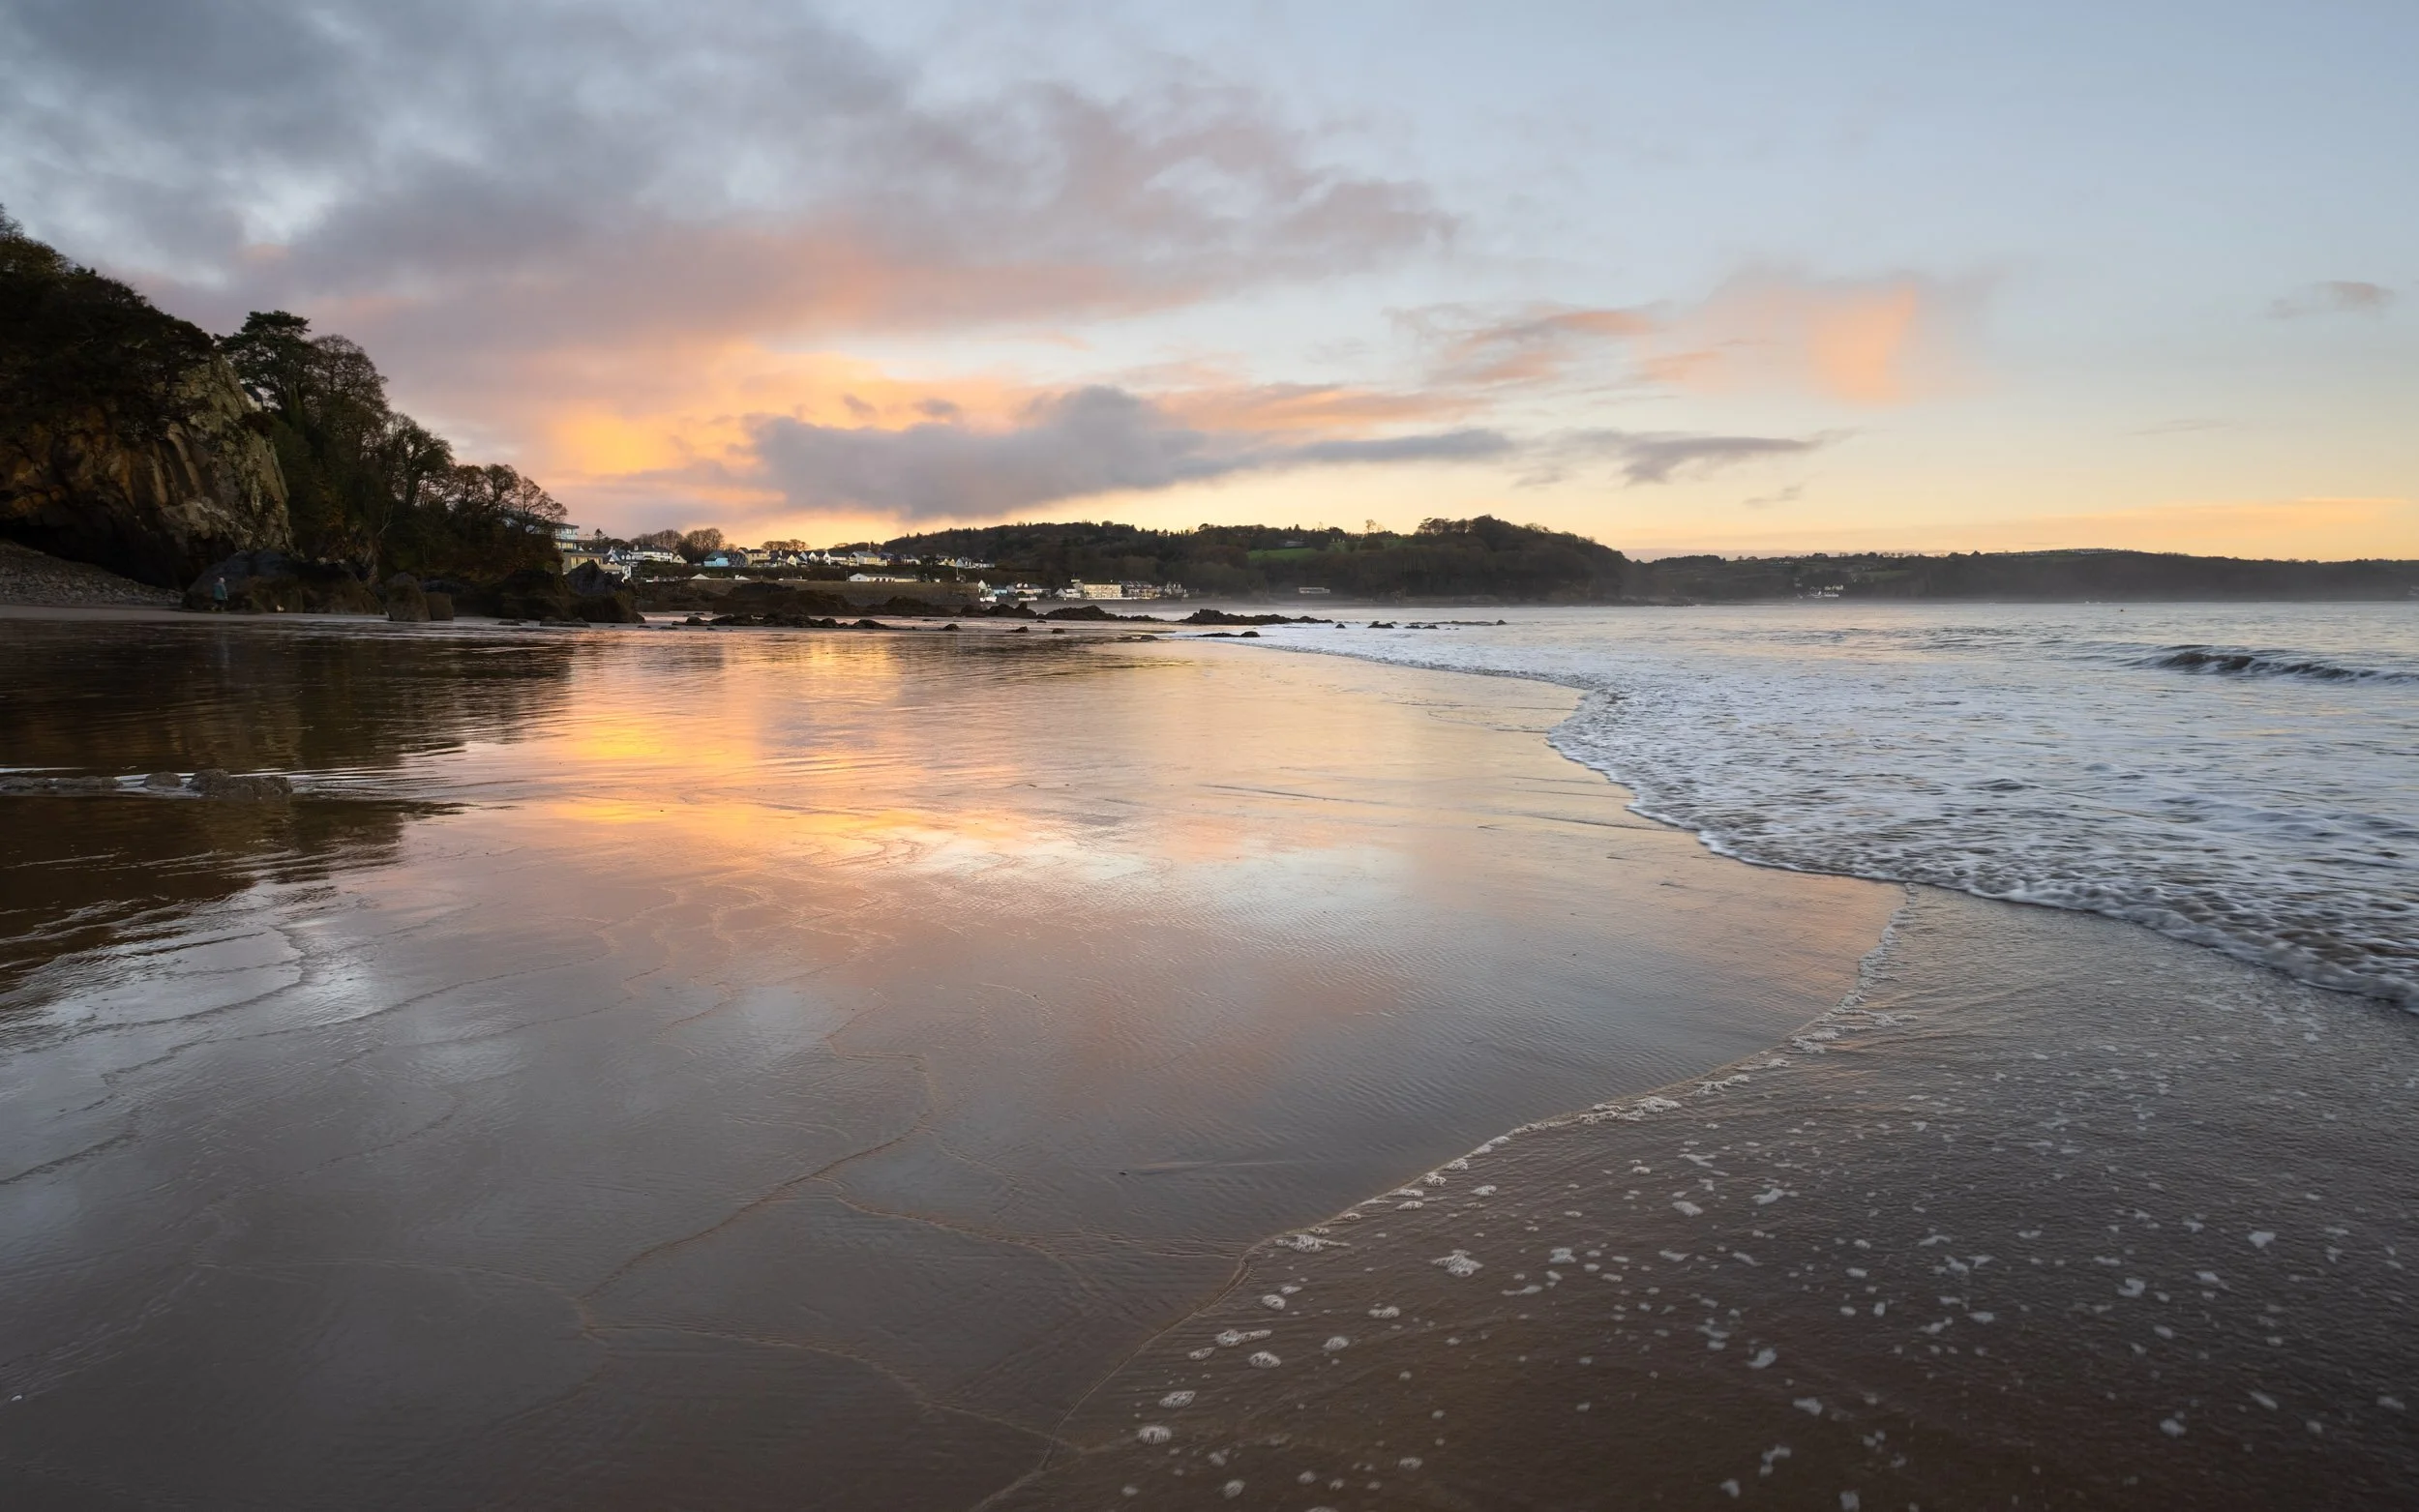
I think the best way to learn photography is to give these tips a try for yourself. So with this in mind, I have made the photo that I will be working on available for you, so you can follow along with the editing process too.
So first up let's talk about safety.
Safety
Pretty obvious, but try not to look through the viewfinder if you are using a DSLR camera, try using the live view instead. If you are using a mirrorless camera, you will not have any problems as the viewfinder is usually digital.

Can the sun damage your sensor?
I've read lots of threads that mention that the sun can damage your sensor if you shoot directly at the sun, now there may be some truth in this, but in my personal experience, I have seen no evidence of any damage to any of my cameras whilst shooting towards the sun.
Maybe if you left your camera out for extremely long periods, then there might be potential problems, but who would do that anyway. Most people will tend to set up the shot, turn on the camera and shoot.
Bracketing
Bracketing your shots is a great way to get an evenly balanced exposure. As the sun is extremely bright, to expose for the sky properly, quite often the foreground will be thrown into complete darkness. When shooting into the sun I would recommend using 5 shot bracketing at 1 stop increments meaning you will have 2 stops of light covered either side of your correct exposure. This is a personal thing and will depend on the conditions but this is my goto setting to start with. If I need more dynamic range then I will increase the increments and try again.
You will, of course, need to blend these images in post-production to create your final image.
Another advantage for exposure bracketing over filters is you can use a lens hood to reduce lens flare and glare on the front element.
Aperture
Choosing a small aperture or a higher f-stop will help keep the scene sharp and stop too much light entering the camera. Stopping the aperture down to f16 or f22 will allow you to capture starburst effects. To maximise this effect try using a tree, cloud or mountain to partially block out half of the sun, you can create some amazing effects with this technique. Be aware though, shooting at such a high F-number will result in a much softer image overall as the light diffracts when it passes through the very tiny aperture.
ND graduated filters

Using neutral density graduated filters can be a great option if the sun is setting or is being diffused by the clouds somewhat. They can help balance the shot, but do pose their own set of problems. Grads are great if you have a fairly straight horizon, but if you are shooting trees or mountains they are not so effective as they will darken parts of the scene which you will not want to be darkened. That being said I love using grads. I find that it feels more satisfying to get the image as near to perfect as possible in-camera. That being said I'm happy to use filters or bracketing depending on the situation.
The main problem though with graduated filters or a polariser is that you cannot use your lens hood meaning you will likely get lens flare or glare in your shot. You can reduce this haziness by shielding the sun with your hand or something larger like a filter case or book. Just be careful not to get it in the shot, unless you mean too of course.
How to reduce of lens flare when shooting into the sun

Depending on the angle of the sun you may find that lens flare is a big problem. You may start to see patterns of the lens elements and aperture in your image.
The single easiest way to eradicate this is to take 2 images and blend them in photoshop.
I have seen many people suggest using a finger to block out the sun but in my experience using a book or filter case to block out the whole of the top part of the image not only reduces the lens flare but also will reduce the light hitting the front lens element which in turn reduce lens glare. Worth a try next time you are out.
I also think it's easier to position a filter case than it is your finger but maybe that's just my shakey hands.
To take an image using this method you will definitely need a tripod. You will need to set the camera up in full manual mode including your white balance. I also recommend using the self-timer to eradicate any camera shake. For the first shot, we will expose for the highlights in the sky and take a shot, the for the second shot, we will expose for the land cover the sky with a filter case or book and take the shot. Just remember though you want the blend to look as natural as possible so try to get the shot of the land to look as close to the final shot as possible. If you would like to give yourself more options in post-production, simply bracket the shots and compare them in lightroom.
If you would like to follow along with the photoshop edit, you can download the 2 images HERE watch the video below and we can work through the edit together.
As an Amazon Associate I earn from qualifying purchases.