Create amazing time-lapse photography with fuji x-t4 x-t3 x-t2 x-h1
Today I will be talking about how to capture amazing time-lapse photography specifically with a fuji camera, but if you are using another brand the core principles will apply however you may need an intervalometer or look at your user manual for how the built-in timelapse feature works on your camera.
At the bottom of the post you will find my youtube video which goes through all of these steps in detail.
A sturdy tripod is essential for capturing time-lapse photography as camera shake can ruin your end clip. It's also worth turning any lens or camera stabilisation off as the camera will be locked on the tripod. A couple of other settings you might want to check are that you have long exposure noise reduction turned off and make sure your camera's auto-off or power-saving function is switched off. We will be using all manual settings throughout the tutorials including white balance to make sure nothing changes during the duration of the time-lapse.
Time-lapse using the video mode on your fuji camera
So first up and the easiest method is to capture a timelapse using the video mode in your camera. Now, this is my least preferred method as it gives the least amount of control, limits our motion blur and doesn’t give us as many options for post-production. It is, however, the quickest way to set up and capture something similar to a timelapse, so for that reason when I simply do not have a lot of time on my hands then it’s still possible to get something decent.
For video, I shoot at 24 frames per second as this gives a cinematic look when used in real-time, usually, I’m shooting at 1/48th of a second for my standard video settings as this gives the correct amount of motion blur and fits the 180-degree shutter angle that is used for professional videography. If required I could reduce the shutter speed down to 1/25 of a second which is the minimum I can go to when shooting video. This will give a little more motion blur for a more dreamy effect.
So we have our frame rate and shutter dialled in now we have to adjust the aperture and iso to set our exposure. If shooting outside during the day then iso will generally be at the lowest setting, that’s 200 on my fuji X-h1
Just remember that if we are speeding the video up later in post-production then we will have to shoot for longer. If I speed the footage up 10 times and I want a 10 second finished clip, my real-time video length needs to be 100 seconds long.
The next step would be to simply speed up the footage in your video editing software.
The downside to this method apart from post-production and shutter speed limitations is that we will need to increase the speed of the clip, meaning frames will be dropped as we try to squeeze all of that information into a shorter space of time. This can result in choppy footage as parts of the clip are discarded.
Time-lapse Fujifilm x series cameras

Using still photos is definitely my preferred method for capturing time-lapse photography, there are 3 main reasons for this.
1 we have much bigger files sizes meaning a better quality image.
2 more flexibility in post-production, we can edit each frame just like a photo.
3 we have complete control over our shutter speed, frame rate and interval meaning silky smooth motion blur.
To set up for shooting stills there is one massively important point that often gets overlooked and is one of the biggest causes for flickery footage and that is our aperture.
Now the aperture blades are incredibly delicate things and they open and close with a decent amount of precision but for the most part, not precise enough to capture the exact same exposure every time.
Every time an image is captured the aperture blades reset and become fully open, it’s only when the image is being taken that the blades close to the desired f-number. This means that during a timelapse of many photos, the blades will be continuously opening and closing. It’s these small discrepancies in exposure that can create a flicking effect in our finished timelapse.
My advice would be to choose a lens with a higher minimum f-number. Lenses with a minimum aperture of F4 and above are great. When shooting wide open at f4 on my fuji 10mm- 24mm f4 lens VIEW THE LENS HERE ON AMAZON the blades will always remain open and never move throughout the entire collection of images. Another alternative would be to use a vintage lens that doesn’t have an electronic aperture.
So I use my fuji 10-24mm f4 lens, now if I shoot wide at f4 I’m getting a large depth of field providing I’m not really close to my foreground subject so this works well.
HOW TO CALCULATE A TIME LAPSE
The next setting to think about is iso, and again this will be at my lowest setting of iso 200 if shooting in bright conditions.
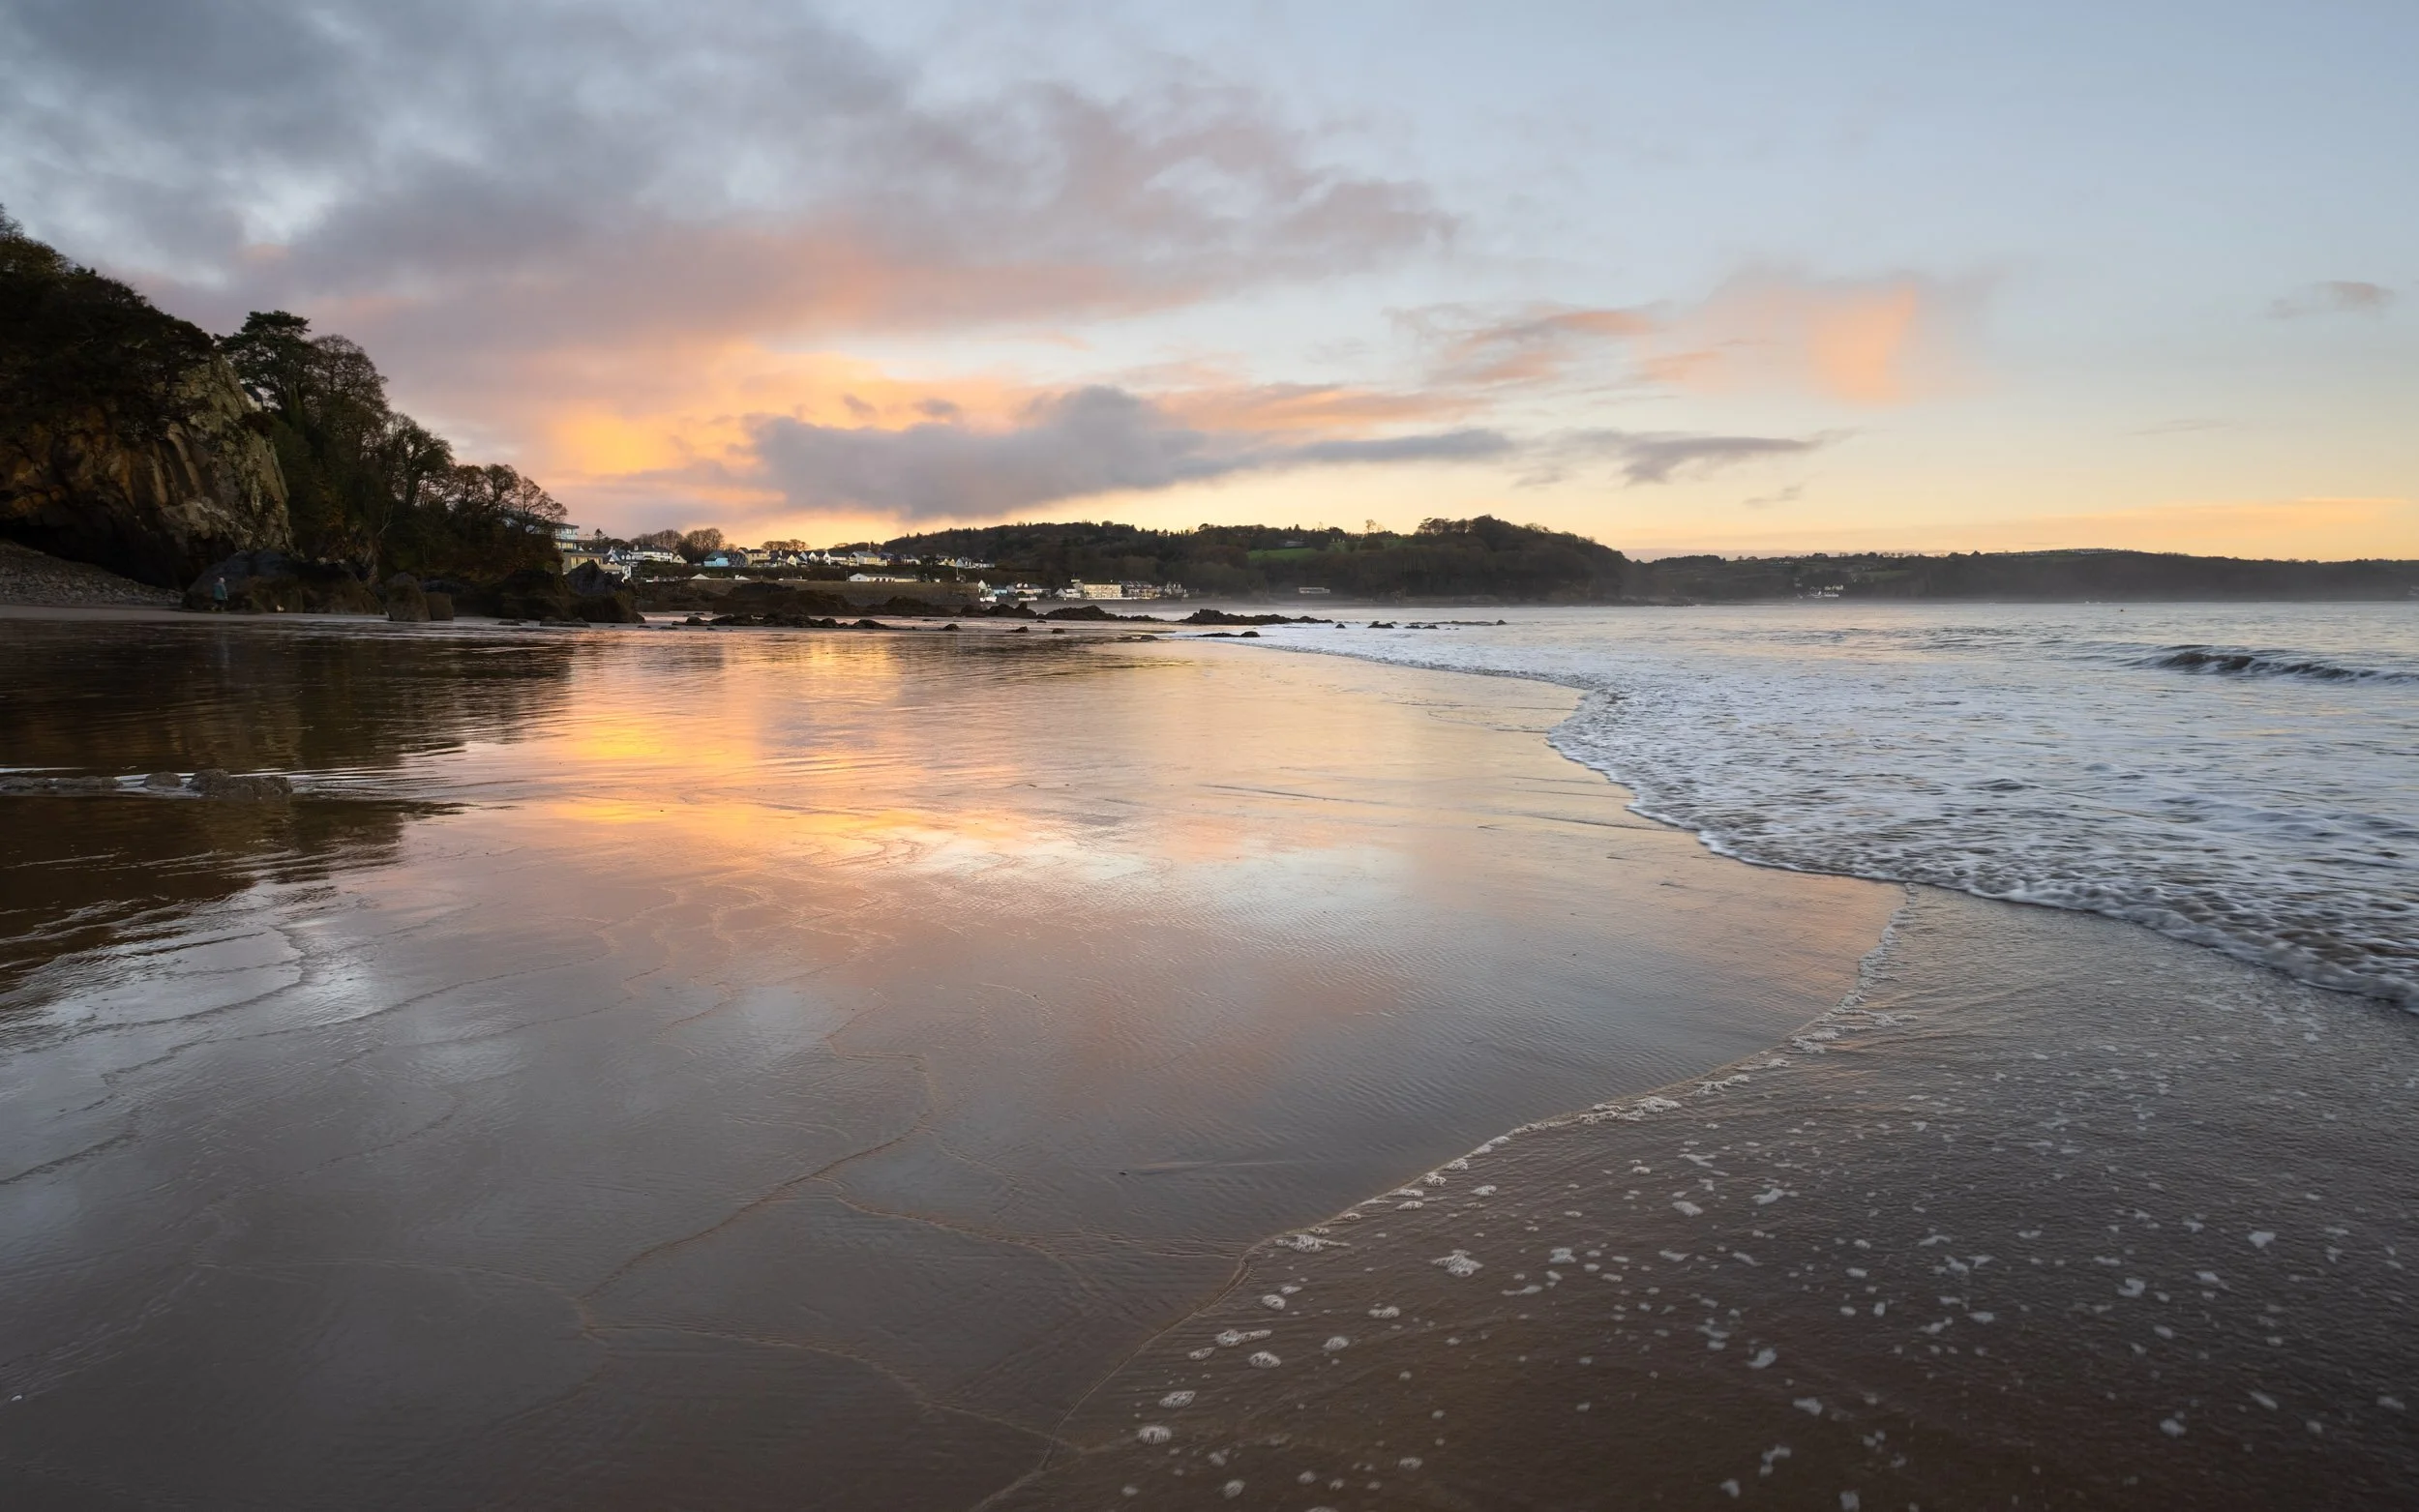
This leaves shutter to complete the exposure triangle, now shutter speed will depend on what you're shooting and the overall look that you are trying to achieve. There's no right or wrongs, it's more down to personal taste and experimentation. If clouds are moving really quick then a quicker shutter speed might work better, if they are moving slower, 2 seconds may give a better result. It really depends on what you are shooting, how smooth you wish the time-lapse to look and how quick your moving parts are travelling.
Getting some motion in each image can really make your time-lapses flow smoother. Now the trade-off with a slower shutter and wide aperture is that we are more than likely going to be overexposed. This is where our friend the ND filter comes into play.
Simply attach an ND to the lens to obtain the correct exposure.
It is worth mentioning that if you are shooting at sunrise then the exposure will be getting brighter throughout the shooting period, so you will need to take this into consideration when finalising your original settings.
The interval needed will depend on the speed in which objects are moving throughout the scene, if the clouds are moving at a decent speed, I would go for a two-second interval, if they were super quick, I would decrease the time to 1 second. If slower then I would increase the time to say five seconds, experimentation is key here. If the interval is not correct then the footage can either look too dreamy or too choppy. It’s worth mentioning that shooting at a shorter interval is better than a larger one, you can always discard frames in post-production, but you cannot add them if you didn’t capture them in the first place.
So with a two-second interval, now I need to work out the number of required frames. Here we need to work out a little math. I would like my finished timelapse to be 10 seconds long and 24 frames per second will be my finished video output. This means I need to multiply 10 by 24 to get my required amount of frames. An easy one to work out, that’s 240 still images.
Now let’s work out how long that will take to capture the whole set of images.
We have a two-second interval and we need to take 240 images that means we will need to shoot for 480 seconds.
It’s always worth working this out so you know how long you will be hanging around for.
Apps such as photo pills have a timelapse calculator to save you working this out which comes in very handy.
Check out the video below for a detailed explanation.
As an amazon associate I earn from qualifying purchases.